Feed Me!

I fed it.
I'm ready.
This is how you know someone is serious about bread baking, because my starter requires more attention than some pets I've owned.
posted by Nic at
9:40 PM
![]()
![]()
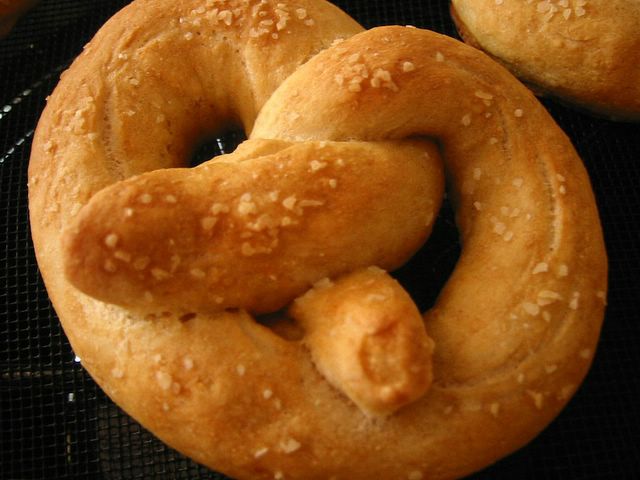
the most important thing in the kitchen. except the oven. and ingredients.
posted by Nic at
9:40 PM
![]()
![]()

I recommend keeping your plates warm in a 200F oven to keep the waffles from sweating and losing their crispness when you put them on the plate.
posted by Nic at
4:16 PM
![]()
![]()

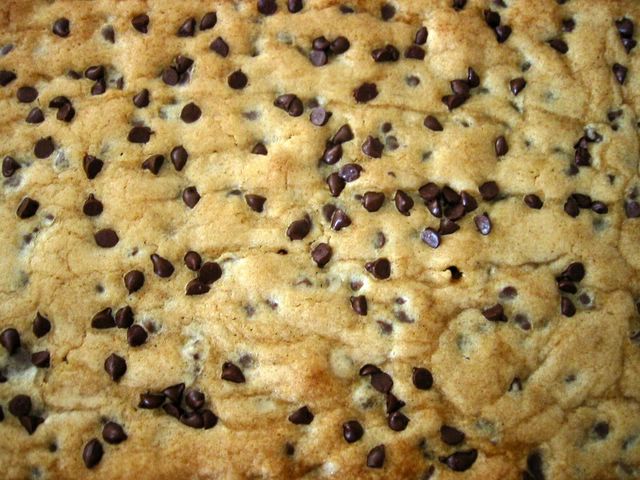
Note: I use natural, salted peanut butter. You get a more buttery cookie by using the natural peanut butter, since it doesn't have all that extra sugar. The cookie will also be more brittle/crumbly if you use processed peanut butter, so I would recommend adding an extra tablespoon of butter.
posted by Nic at
4:51 PM
![]()
![]()

posted by Nic at
1:12 PM
![]()
![]()

posted by Nic at
7:00 AM
![]()
![]()
posted by Nic at
12:21 PM
![]()
![]()
posted by Nic at
6:10 AM
![]()
![]()


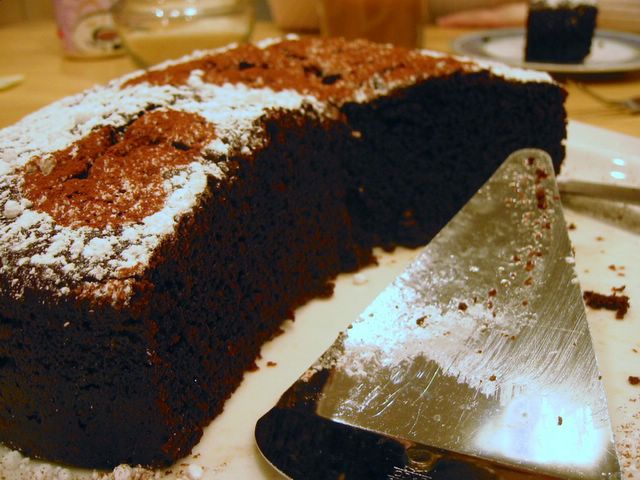
For dessert, I made a chocolate cake. I was going to make Gale Gand's Chocolate Heart Throb cake that Kelli posted about the other day, when I stumbled upon EatingWell's Died and Went to Heaven Chocolate Cake. I opted to make it instead of Gale Gand's recipe for two reasons:
(1) I didn't have to rescale the recipe to fit my pan
(2) I already had buttermilk in the fridge.
The third reason, and arguably the best reason, is that this cake is fabulous. Moist, fluffy, easy to make and easy to handle.
The only change I made to the original recipe was to use all white sugar instead of half white and half brown sugar. I've seen very similar versions of this recipe all over the place. Some with a bit more oil, some with a bit more milk. Here's the recipe I made:
Note: Do not be fooled by the relative thinness of the batter; it really puffs up as it bakes! Do NOT fill any pans more then 2/3 of the way full!
posted by Nic at
8:23 AM
![]()
![]()


Happy Valentine's Day, everyone!
posted by Nic at
7:50 AM
![]()
![]()


posted by Nic at
9:08 AM
![]()
![]()
posted by Nic at
10:10 AM
![]()
![]()
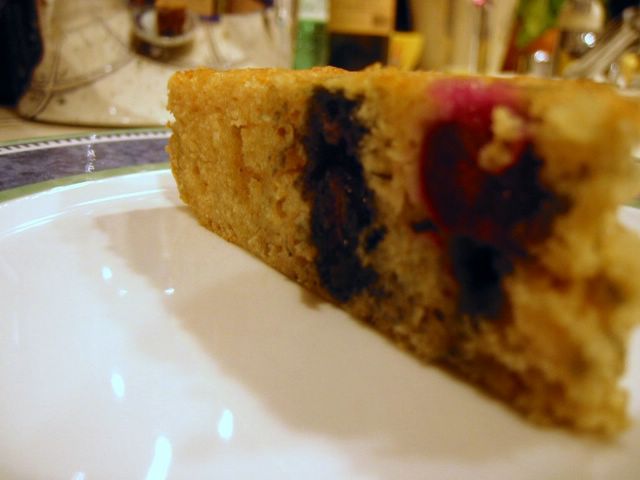
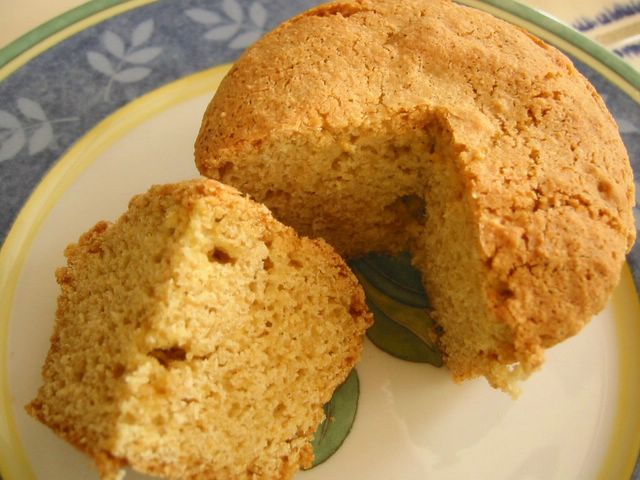
Also known as "How not to bake a cake".
Wanting to use my adorable new 6 inch round cake pan, I decided to christen it with a cake. Nothing heavy (since I know that I am planning something chocolatey for Valentine's Day).
I ended up with two cakes - one that was essentially a blueberry frittata and one that was a muffin.
For the first cake, I halved a simple yogurt cake recipe. No problems? Well, in my brilliance this evening I decided that half of three eggs was two eggs. And I had jumbo eggs, no less. The upshot of all this was that my "cake" looked remarkably like a frittata.
Smelled like eggs. Looked like blueberry cake. Tasted like a heavy vanilla sponge.
I'm so sorry, Clotilde. I'll have another go sometime soon and do your cake justice!
The muffin one tasted fine, but I wasn't expecting it to taste like a muffin. I used the recipe for Mixed Berry Coffeecake, from my local newspaper, and when I think about a coffee cake... well, let's just say that I don't expect it to taste like a muffin. I liked it, though.
Here's the original recipe (for an 8" round pan):
Mixed Berry (Muffin) Coffeecake - pictured above
posted by Nic at
8:51 PM
![]()
![]()
posted by Nic at
4:25 PM
![]()
![]()
posted by Nic at
4:59 PM
![]()
![]()
posted by Nic at
10:12 AM
![]()
![]()

posted by Nic at
2:55 PM
![]()
![]()
Since starting this blog, I heave paid much more attention to the food photos on other people's blogs. It never occured to me how difficult taking a good photo would prove to be. The lighting, the contrasts, attempting to adjust the focus and the exposure so the food doesn't appear to have been made by a nearly blind person with hooks for hands, except worse. I'm sure that a nearly blind person with hooks for hands could make tasty and presentable food, but I think you will see what I'm trying to say.
I'm trying to improve the quality of my photos. This has led to many discoveries.
(1) Flashes are generally bad.
(3) Close-ups are generally good.
(2) Loaves are difficult to photograph well, as are oatmeal cookies.
(3) Picassa is very useful.
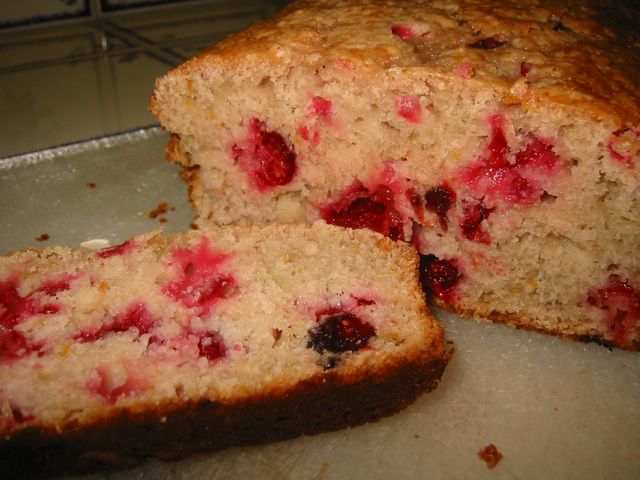
The loaf here is a Cranberry Orange Bread and it is a particularly beautiful loaf. But since loaves tend to look like unpleasantly like wet, clay bricks, I tried to capture the interior. I'm not entirely satisfied with this picture, so I'll hope for a better one next time. This bread is so good, I don't need any coaxing to make it again.
The secret to a good orange bread is to use freshly squeezed oranges for the juice. An even better secret is to use blood oranges, which I did. This resulted in the batter looking bright purple. Fortunately this color baked out and the loaf was light tan with a slightly pinkish-orange hue. The other secret is to add some dried cranberries, which add sweetness to the bread and a different texture from the fresh cranberries.
Orange Cranberry Bread
posted by Nic at
3:59 PM
![]()
![]()

posted by Nic at
8:46 PM
![]()
![]()

Subscribe to
Posts [Atom]
